So, you’ve decided to invest in an Energy Recovery Ventilation (ERV) system? Great choice for boosting your home’s air quality! Here’s a friendly walkthrough of the ERV installation process and why it makes such a difference.

Step 1: Pre-Installation Assessment & Planning
It all starts with a thorough inspection of your home. A professional technician evaluates your HVAC system, current ventilation setup, and room dimensions to determine the right ERV unit. This isn’t a cookie-cutter process; they take your unique needs, energy goals, and existing layout into consideration.
Step 2: Design Customization
The next phase involves creating a tailored layout plan. The goal is to find optimal paths for ductwork that connect your ERV to supply and exhaust points throughout your home. Factors like location of exterior vents, accessibility for maintenance, and minimizing noise are all part of the detailed planning. If you have particular areas that often feel stuffy, you can mention these to your installer for consideration.
Step 3: Equipment Preparation
Once everything’s decided, the ERV system and any required accessories are ordered. Before installation day, the components may be pre-assembled or prepped to minimize time and disruption during the install.
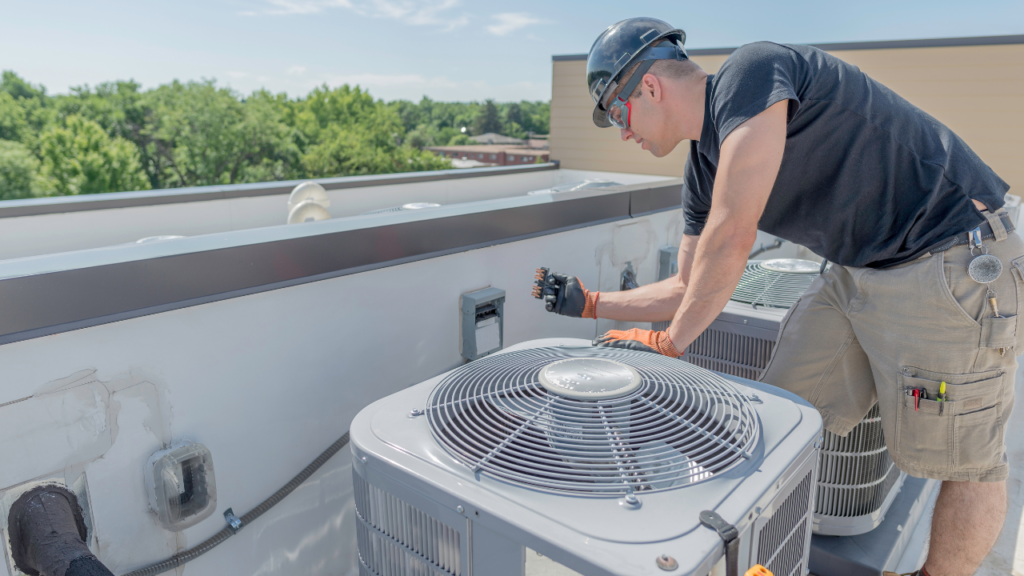
Step 4: The Installation Process
- Ductwork Connections: The ERV system will be connected to your existing HVAC ducts or, in some cases, dedicated ducts. The installer ensures connections for drawing in fresh outdoor air and expelling stale indoor air.
- Mounting the Unit: ERV units are usually installed in basements, attics, or mechanical rooms. The unit itself might be wall-mounted or placed on a stand, depending on space.
- Electrical and Control Setup: The system is integrated with control panels to adjust humidity and airflow. Some systems can also integrate with smart home controls for convenience.
- Testing and Adjustments: After installation, technicians test airflow, humidity control, and system balance. They ensure efficient operation and make any necessary tweaks for optimal comfort.
Step 5: How It Works Post-Installation
ERVs exchange heat and moisture between outgoing indoor air and incoming fresh air. When cold outside, they warm and humidify incoming air using outgoing exhaust air. In hot weather, the ERV can cool and dehumidify fresh air. This reduces energy loss and keeps indoor air healthy and fresh.
Benefits to Expect
- Energy Savings: ERVs recover energy lost through traditional ventilation.
- Enhanced Air Quality: Reduces pollutants, allergens, and excess moisture indoors.
- Balanced Humidity Levels: Comfort without excessive dryness or humidity.
Pro Tip: Regular filter maintenance and periodic inspections are essential to keep your ERV running efficiently!
Ready for improved air quality and lower utility bills? Reach out to ERV Pro for expert advice and seamless installation.
